Disclosure: This post may contain affiliate links. I may earn a small commission for my endorsement, recommendation, testimonial, and/or link to any products or services from this website.
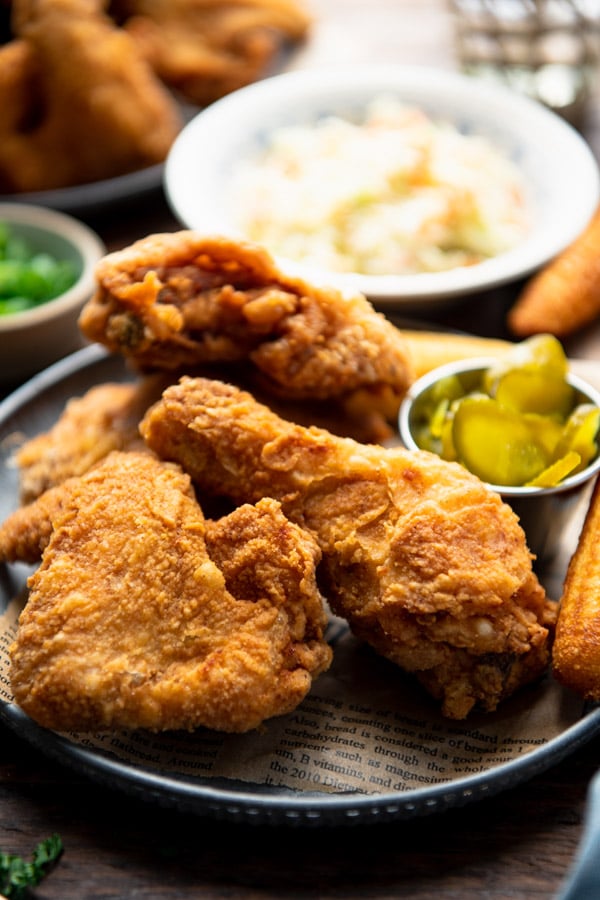
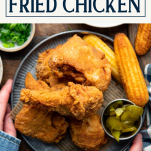
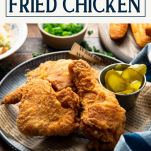
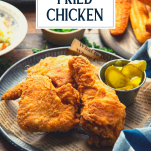
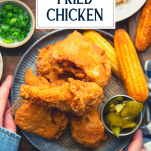
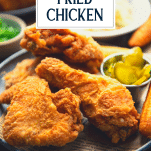
The absolute best fried chicken recipe with buttermilk! This classic Southern fried chicken is tender and juicy on the inside, and perfectly crisp and golden brown on the outside. Whip up a batch in a skillet at home whenever the craving strikes. Served with cornbread, biscuits, coleslaw, pickles, and collard greens, this is one easy meal that everyone can agree on!
How to Make Fried Chicken | 1-Minute Video
Southern Fried Chicken Recipe
It seriously doesn’t get any better than a crispy fried chicken recipe that you can turn to again and again. File this one away, because the simple ingredients and easy technique will make this dish a staple in your home, too. It’s juicy, flavorful and finger-lickin’ good!
Ingredients
This is just a quick overview of the ingredients that you’ll need for the best buttermilk fried chicken recipe. As always, specific measurements and complete step-by-step cooking instructions are included in the printable recipe box at the bottom of the post.
- Bone-in skin-on chicken pieces: you can use whole fryer chickens that you cut into pieces, or about 4 lbs. of bone-in skin-on chicken pieces of your choice. For instance, if you prefer just the chicken thigh, just the chicken breast, or only the drumsticks or wings, go with that!
- Buttermilk: an important ingredient in Southern fried chicken, since it adds flavor, helps to tenderize the meat, and keeps the chicken nice and moist. Look for thick, rich, full-fat buttermilk.
- Flour: to coat the chicken and give it that crispy exterior.
- Salt: to season the meat. You’ll add some salt to the flour mixture, and then also season the chicken as soon as it comes out of the fryer.
- Cayenne pepper (optional): add a dash if you like your fried chicken with a spicy kick!
- Oil for frying: peanut oil is my preference, but you can use another neutral-flavored oil with a high smoke point, such as canola oil or vegetable oil, or even shortening.
- Butter: adding a stick of butter to the frying oil adds so much great flavor to the chicken. I use salted butter, but unsalted butter will work, too.
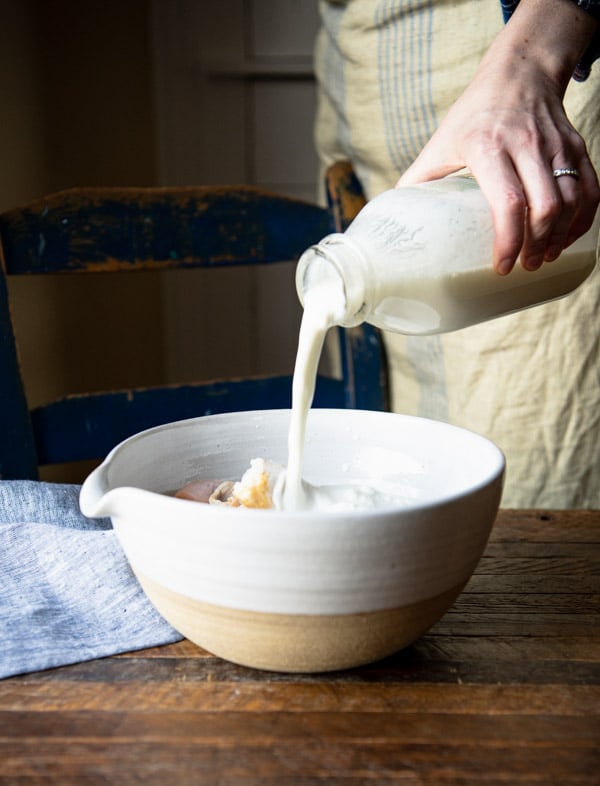
Why Soak Chicken in Buttermilk?
The buttermilk keeps the chicken tender and juicy, and also adds flavor to the meat. Because buttermilk is only slightly acidic, it tenderizes the chicken without toughening up the meat (like a stronger acid such as lemon juice or vinegar might). The enzymes in buttermilk also help to break down the protein in the chicken, resulting in tender, flavorful fried chicken.
The Best Oil for a Crispy Fried Chicken Recipe
Use either peanut oil, vegetable oil, or vegetable shortening to fry the chicken. I typically use peanut oil because it’s affordable, it has a high smoke point, and it will not flavor your meat.
So long as you don’t smoke the oil or use it to fry fish, it’s fine to strain the oil and reuse it. Just refrigerate the strained oil and reuse it up to 3 times.
How to Fry Chicken
There’s something so satisfying about frying up your own batch of chicken at home. No need to swing through a drive-thru at Popeye’s or KFC, or pay $20 for a chicken breast at a local trendy spot. Instead, this down-home skillet fried chicken is an easy and delicious way to satisfy that craving. Don’t be intimidated — this is really just a few simple steps:
- Soak Chicken in Buttermilk. Place the chicken pieces in a large bowl with the buttermilk. Place the bowl in the refrigerator and let it sit for at least 8 hours (or overnight).
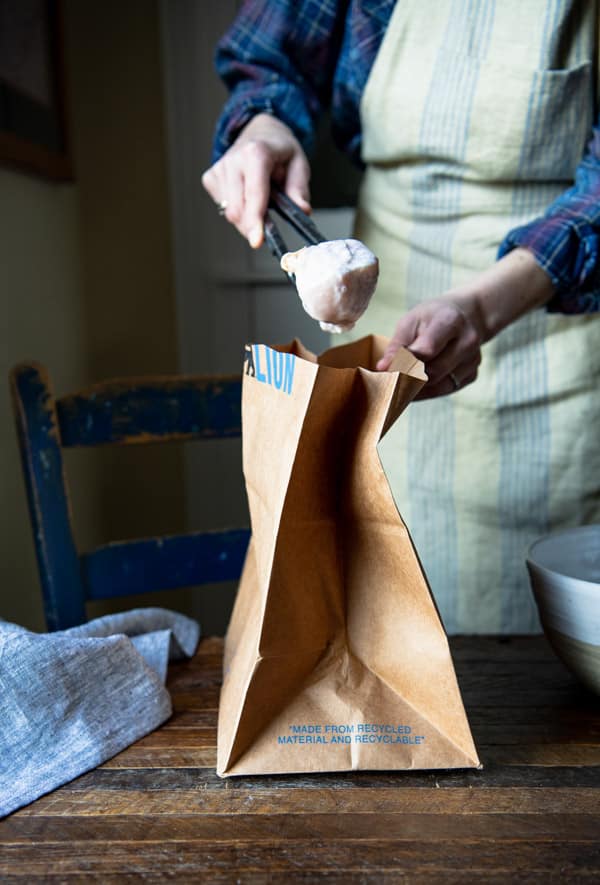
- Combine Flour and Seasoning. Place the flour, salt, and cayenne in a large brown paper bag and gently shake it around to make sure that everything is combined.
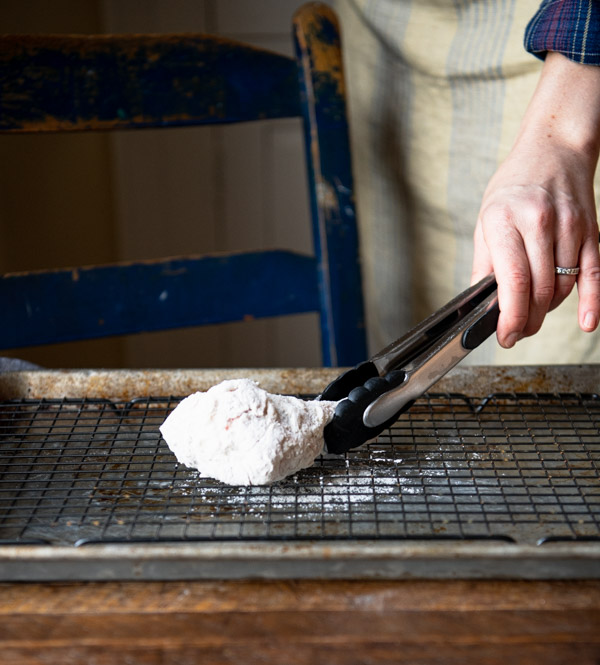
- Coat Chicken in Flour Mixture. Remove the chicken from the buttermilk, and then place one damp piece of chicken at a time into the bag with the flour. Gently shake the bag until the chicken is completely coated. Shake off any excess flour, transfer the chicken to a wire rack, and allow all of the pieces to dry for at least 30 minutes (or up to 1 hour).
- Fry Chicken in a Skillet or Dutch Oven. Fry the chicken in oil or shortening with butter in a large cast iron skillet or Dutch oven, being careful not to overcrowd the pan. Cover and cook for about 8-10 minutes, then turn the pieces over, cover again, and cook for about 10 more minutes. Drain the chicken on a wire rack or paper towels and season with salt and pepper, to taste.
When to Season Fried Chicken
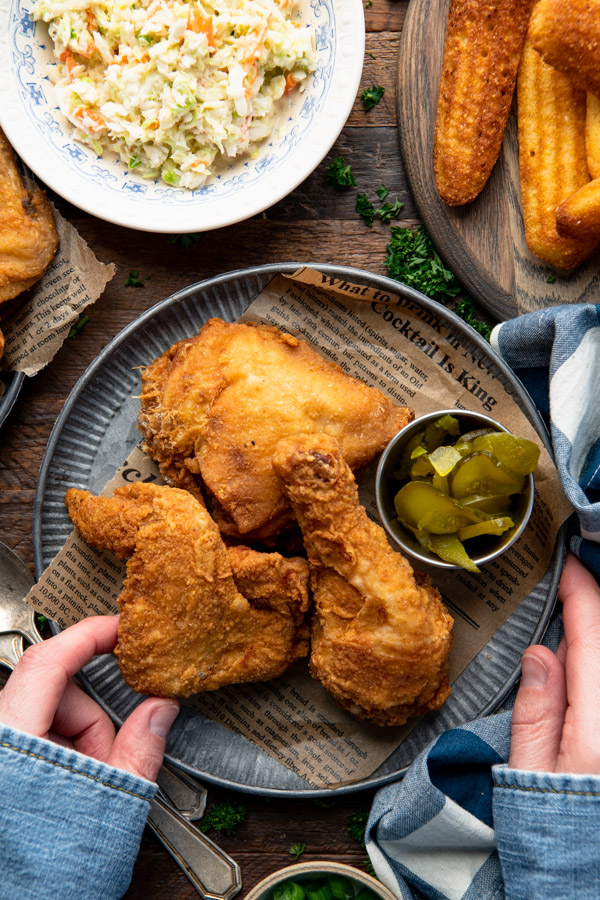
I prefer to add the seasoning (in this case, salt and cayenne) to the flour in order to season the chicken. Then, once the chicken is fried and still warm, you can season it with a little bit more kosher salt and black pepper, if you like. The salt will adhere best to the warm chicken.
What to Serve with this Buttermilk Fried Chicken Recipe
While fried chicken is a great dinner option, we normally serve it for lunch — especially picnics! Here are a few delicious side dishes that go well with the crispy buttermilk fried chicken to complete your meal:
- Hush Puppies
- Coleslaw or Vinegar Coleslaw
- Hoe Cakes
- Baked Potato Wedges
- Skillet Cornbread, Bakery-Style Corn Muffins, Honey Cornbread, Old-Fashioned Corn Sticks, Sweet Cornbread Muffins, or Jiffy Cornbread with Creamed Corn
- Creamy Baked Mac and Cheese, Crock Pot Mac and Cheese, Stovetop Shells and Cheese, or No-Boil Easy Mac and Cheese
- Southern Buttermilk Biscuits, Flaky Biscuits, 3-Ingredient Buttermilk Biscuits, Sweet Potato Biscuits, Cheese Biscuits, Easy Drop Biscuits
- Pumpkin Bread or Pumpkin Muffins
- 3-Ingredient Sour Cream Muffins
- Honey Beer Bread
- Wedge Salad, Classic Caesar Salad, House Salad with Candied Pecans, or a Green Salad with Red Wine Vinaigrette
- Easy Potato Salad
- Arkansas Green Beans with Bacon or Southern-Style Green Beans
- Broccoli Cauliflower Salad
- Fried Apples or Baked Apple Slices
- Southern Succotash
- Southern Collard Greens
- Fried Okra
- Broccoli and Cheese
- Easy Pasta Salad
- Homemade Baked Beans with Bacon or Calico Beans
- Charleston Red Rice
- Okra and Tomatoes
- Southern Squash Casserole
- Cheese Grits
- Fried Cabbage with Apples and Onion, Braised Red Cabbage, or Roasted Cabbage
What to Do with Leftover Buttermilk
We always keep a bottle of buttermilk in the fridge because it’s a handy ingredient that you can use for so many different recipes. If you find that you have some extra buttermilk in your kitchen, try one of these great ways to finish off the bottle:
- Fluffy Buttermilk Pancakes
- Baked Buttermilk Pancakes
- Southern Buttermilk Biscuits, Flaky Biscuits, 3-Ingredient Buttermilk Biscuits, Sweet Potato Biscuits, Cheese Biscuits, Easy Drop Biscuits
- Sweet Cornbread Muffins with Brown Sugar, Old-Fashioned Southern Corn Sticks, Mexican Cornbread,
- Apple Muffins with Cinnamon Sugar and Farmhouse Blackberry Muffins
- Buttermilk Salad Dressing
- Cucumber Dill Salad
- Wedge Salad with Homemade Buttermilk Ranch Dressing
- Irish Soda Bread
- 3-Ingredient Buttermilk Mashed Potatoes
- Old-Fashioned Lemon Buttermilk Pie
- One-Bowl Buttermilk Chocolate Cake
- Best Vanilla Cake
- Old-Fashioned Blueberry Buckle
- Chi-Chi’s Famous White Texas Sheet Cake
- Easy Blueberry Cobbler and Peach Blueberry Cobbler
Preparation and Storage Tips
- Make sure that you allow plenty of time to soak the chicken in buttermilk. At least 8 hours (or overnight) is ideal; however, in a pinch you can shorten this time to a few hours.
- Fried chicken is best when it is fresh and the skin is still crispy. Leftovers will keep in the fridge for 2 to 3 days; however, the skin will not be as crispy when reheated.
- How to reheat fried chicken: Preheat your oven to 400°F. Meanwhile, place the chicken on a wire rack over a baking sheet and allow the chicken to come to room temperature for about 30 minutes (this ensures that it reheats evenly). Next, reheat the chicken until the skin feels hot and very crispy, about 15 minutes.
Recipe Variations
- For even more flavor, add garlic, herbs, shallots, or onion to your buttermilk. The flavors will infuse the meat and add unique taste to your crispy fried chicken.
- Season the flour mixture with other herbs and spices for more layers of flavor, too. For instance, try a teaspoon paprika, onion powder, 1-2 teaspoons garlic powder, 1-2 teaspoons pepper, oregano, thyme, or just about any other flavors that you like with your chicken.
- Make it spicy by adding hot sauce to the buttermilk, or by including extra cayenne pepper in the flour dredge.
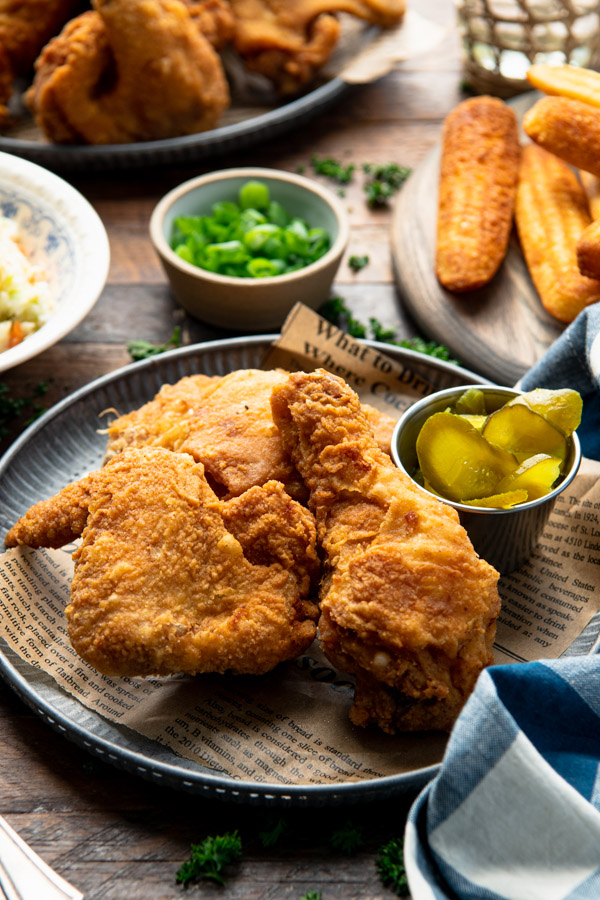
- Use any chicken pieces that you prefer. For instance, instead of cooking the parts from a whole chicken, you can just fry chicken breasts or just fry the drumsticks. You’ll want about 4 lbs. of chicken pieces in total.
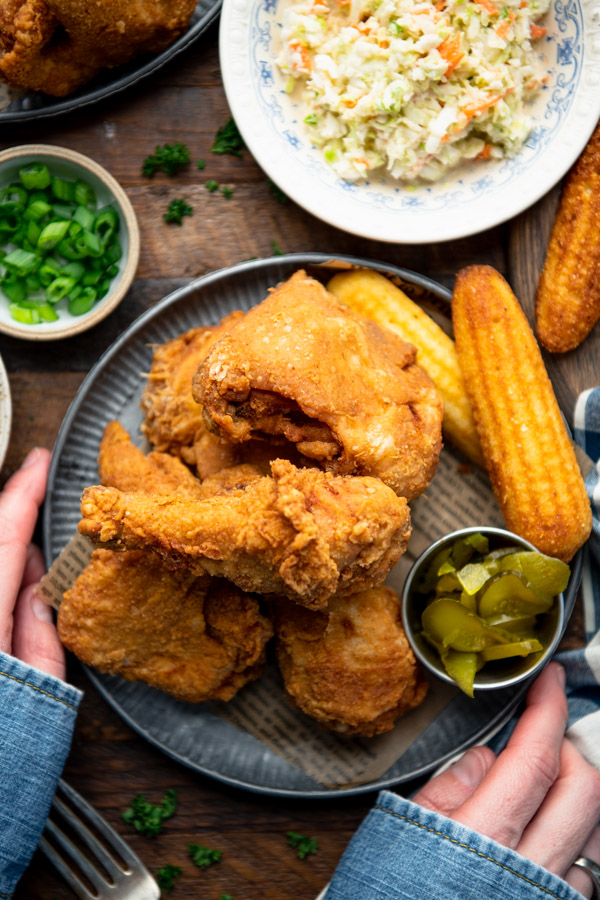
Tips for the Best Fried Chicken Recipe
- A brown paper bag is the classic way to shake and coat fried chicken. If you don’t have a paper bag, you can use a sturdy plastic bag instead.
- You don’t need a thermometer to fry the chicken. Instead, when the oil is hot (but not smoking), add a drop of water to the pan — if it sizzles, the oil is hot enough for the chicken. You want to maintain a fairly steady temperature as the chicken cooks, so don’t overcrowd the pan with too many pieces at once (which will bring down the temperature). If the oil is really flying and it seems to be too hot, you can turn down the temperature slightly.
- When using a thermometer to monitor the temperature of the oil, you want the oil to stay at about 350°F.
- If you’re using a meat thermometer to know when the chicken is done, white meat will be best at 165°F, while dark meat can be cooked to 170-175°F for the best texture.
- Never cover your warm fried chicken with foil. This traps steam and moisture, which will make your chicken soggy.
- How to make sure that the breading doesn’t fall off of the fried chicken: Allowing the chicken time to dry on the wire rack after dredging ensures that the flour adheres to the meat. Don’t skip that step! Also, flip your chicken only once when frying — the more that you mess around with it, the more likely the breading will fall off.
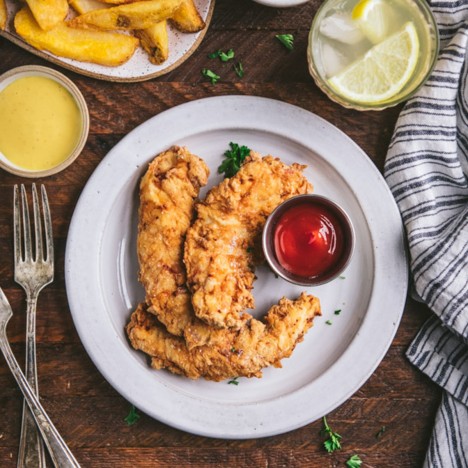
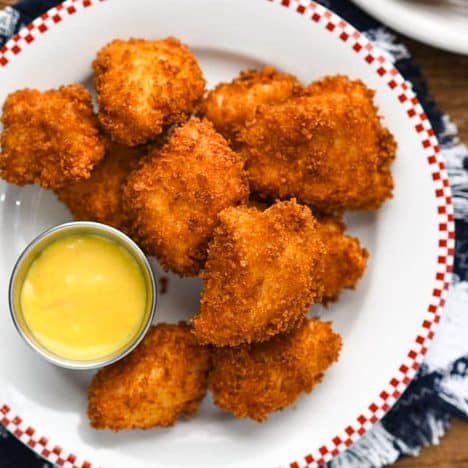
More Fried Chicken Recipes to Try

Crispy Fried Chicken Recipe
Ingredients
- 1 large chicken (4 pounds), cut into pieces (or 3-4 lbs. of your favorite bone-in, skin-on chicken pieces)
- 3 cups buttermilk
- 1 ½ cups all-purpose flour
- 1 tablespoon salt
- ½ teaspoon cayenne pepper, optional
- 2 cups peanut oil, vegetable oil, or vegetable shortening
- 8 tablespoons (1 stick) butter
Instructions
- Place chicken in a bowl with the buttermilk. Let sit in the refrigerator for at least 8 hours, or overnight.
- Place the flour, salt and cayenne in a large brown paper bag and gently shake to combine (if you don’t have a paper bag, you can use a large, sturdy plastic bag).
- Remove chicken from the buttermilk. Add one piece of the damp chicken to the paper bag. Hold the bag closed and shake it so that the chicken is thoroughly coated.
- Transfer the chicken to a wire rack; repeat with remaining pieces of chicken. Allow the chicken to dry for at least 30 minutes or up to 1 hour.
- Heat the oil in a large cast iron skillet or Dutch oven with the butter over medium-high heat. When the oil is hot (but not smoking), and a drop of water sprinkled into the pan sizzles, add the chicken, making sure you do not crowd the pan. Cover and cook until the chicken begins to turn brown, about 8-10 minutes (reduce the heat slightly, if necessary). Turn the pieces over, cover again, and cook for about 10 more minutes. Drain on a rack. Season warm chicken with additional salt and pepper, to taste. Repeat the process to cook the remaining chicken in batches. Serve warm, at room temperature, or even cold!
Video
Notes
Nutrition
This recipe was originally published in July, 2020. The photos were updated in May, 2022.





I have tried to fry chicken a few times over the years but my results have not been that great. But your tutorial has inspired me to give it another try. My only question is the stick of butter. It is listed in the ingredients and instructions at the end of the post, but not mentioned anywhere in the tutorial portion. Do I add it to the oil or not?
Hi, Barbara! Yes, in Step 4 of the recipe it says to heat the butter with the oil in the skillet. I’ll add that note to the step-by-step photos so that there’s no confusion. Hope you love it!
yummy and perfect I love your recipes, thanks for sharing <3
Thank you, Sara!❤️
Wonderful flavor. My husband and I both loved it.
Thank you, Tricia! I’m so glad that it worked well for you!
Blair- I just found your site and can tell by reading your recipes can tell that they are delicious and easy to prepare. When I find recipes online I like to save them to Pinterest, so I don’t have to hand copy them, but I didn’t see a link on your site- any ideas?
Thanks, Trudy Glover
Hi, Trudy! I’m so glad that you found my site and I hope that you enjoy some of the recipes! On each recipe post, there are a couple of different ways to pin images. You will see three different yellow buttons at the top (just below the title of the post). The third button says “Pin,” and when you click on that it will pull up a pinnable image. As you scroll down, small yellow square buttons will appear in the left sidebar of the post. Click on the “P” button to pin an image from that post. Finally, in the recipe box at the bottom of each post, you will see a “Pin” button just below the small thumbnail image of the food. Click on that to pin an image on Pinterest. Hope that helps!
Hi
Looks so good. Will try it out tomorrow.
May I know for 1 stick of butter, is the butter salted or unsalted?
How many gram is 1 stick of butter? Thank you for sharing.
Hi, Elise! I always use salted butter. One stick of butter is equal to ½ cup = 4 ounces = 113 grams. Hope you enjoy!
Hi
I didn’t monitor the temp of my oil. Would overheated oil cause overly crispy crust? My crust was like a hard cracker. I’d like to make the proper adjustments and try again. What do you suggest?
Anita
Hi, Anita! It might. I usually find that if the oil is too hot, the crust burns before the meat is cooked through. I haven’t had an issue with it being too crispy, since that’s usually the goal — crispy not soggy. I’m sorry that I can’t think of another thing to tweak in order to adjust for the next time. Lowering the oil temp might help, though!
I love buttermilk, both to drink and to use as an ingredient. This chicken looks absolutely luscious but unfortunately I’m not skillful with a frying pan and I don’t have any experience with deep fat frying and I don;t want to get over my head in the middle of a cooking session since I’m alone and disabled. Don’t really want to turn the oven on much this time of year so I’m thinking more and more of getting an air fryer. I know you said that you don’t use your s much but I was wondering if you could recommend a really reliable author or blogger who focuses on the air fryer. I love the way you explain everything as you go so that’s what I would be looking for. Thanks.
Hi, Marion! I’m not too familiar with many other bloggers that focus on air fryer recipes, but I do know that my friend Kristine has many air fryer options on her site here: https://kristineskitchenblog.com/category/air-fryer/
I hope that helps!
Thanks for the link, Blair. I’m going to look at it, and several additional ones, very carefully and I think I had better go to several local stores and actually look at some air fryers. My kitchen is bizarre in that it has plenty of floor space for me to walk around in but really little cupboard and counter space. Looking at the blogs, it seems that it’s not just a matter of the size of the unit to deal with but the weight of it, how much room I need to clean it, how much room the vented air is going to need, how far away from the wall it needs to be, ect. ect. I wish I knew someone who owns one so I could see how it works. Definitely not as straight forward as a crock pot. If I go ahead, I may just have to get a small one for heating frozen items for one, at least for starters. But thanks very much for all your help!
A simple recipe with delicious results!
The part that did make the difference to me was letting the breaded chicken rest on a wire rack before frying.
I have not done that in the past, and the breading came out too soggy. Thanks for the tip!
We’re so glad this recipe turned out well for you, Marina! Letting the chicken rest is a complete game changer.
What’s is the stick of butter for? I might be overlooking it in the recipe but I didn’t see what to do with it.
Hi, Emily! You’ll use the butter along with the oil for frying the chicken. In Step 4 of the recipe it says, “Heat the oil in a large cast iron skillet or Dutch oven with the butter over medium-high heat…”
Hope you enjoy the chicken!